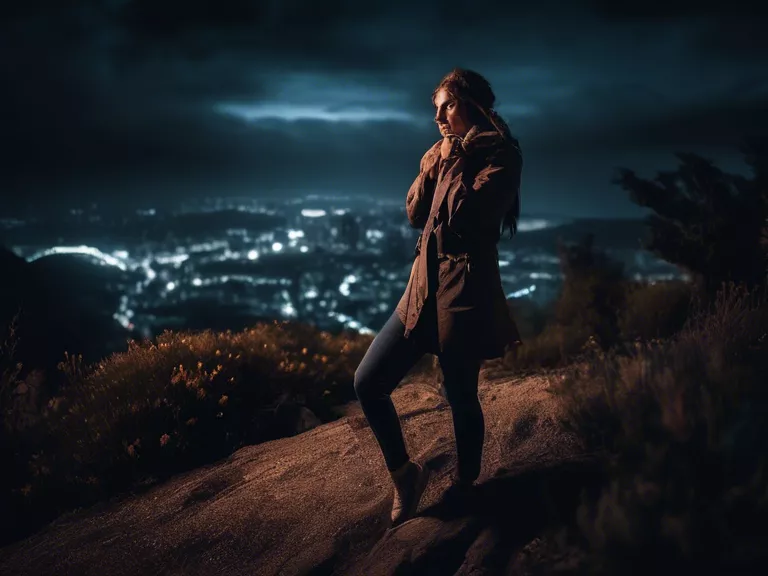
Low-light photography can be a challenging but rewarding venture for photographers looking to capture professional and stunning images in difficult lighting conditions. With the right techniques and equipment, achieving high-quality results in low-light situations is entirely possible. In this article, we will discuss some of the best techniques for achieving professional results in low-light photography.
Use a tripod: In low-light situations, camera shake is more likely to occur due to longer exposure times. Using a tripod will help stabilize your camera and prevent blur in your images, resulting in sharper photos.
Adjust your camera settings: To work in low-light conditions, you will need to adjust your camera settings accordingly. Increase your ISO to a higher value to make your camera more light-sensitive, use a wide aperture to let in more light, and slow down your shutter speed to allow for more light to reach the sensor.
Focus carefully: Achieving accurate focus in low-light conditions can be tricky. Use manual focus or a flashlight to assist your camera in focusing on the subject. Take your time to ensure your subject is sharp and in focus before taking the shot.
Use a fast lens: A lens with a wide maximum aperture (e.g., f/1.8 or f/2.8) is ideal for low-light photography as it allows more light to enter the camera. This will allow you to shoot in darker conditions without having to increase ISO too much, resulting in less noise in the final image.
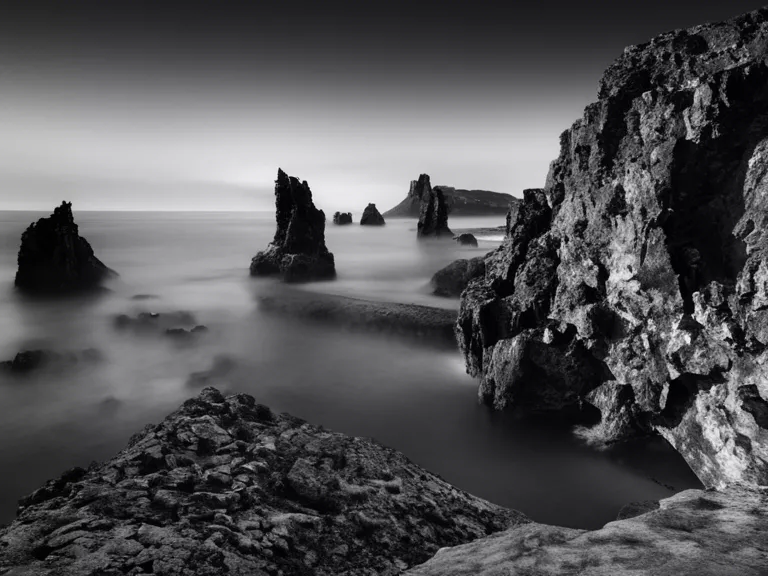
Experiment with long exposure: Long exposure photography can produce stunning results in low-light situations. By using a longer shutter speed, you can capture more light and create unique effects such as light trails or silky water. Just make sure to use a tripod to avoid camera shake.
By implementing these techniques and experimenting with different settings, you can improve your low-light photography skills and capture professional-quality images even in challenging lighting conditions.
